

I’ve shared several natural beauty tips before, but oil cleansing stands out as one of the easiest. It’s an incredibly effective way to achieve healthy and clearer skin. Here’s the way to incorporate it into your skincare routine and understand why it might be beneficial!
Initially, I was doubtful about trying the oil cleansing technique. Having an oily skin type, I questioned its effectiveness for me. As a person who dealt with acne during my teenage years, I wondered if this approach would trigger breakouts again. Surprisingly, it didn’t!
Understanding Oil Cleansing
While it may seem unusual, using natural oils to clean the skin thoroughly is actually logical. The main idea revolves around using specific combinations of natural oils to cleanse and harmonize the skin’s natural balance. This process leads to skin that’s more nourished and hydrated compared to using detergent-based face washes.
Oil cleansers work by using oil to both massage and cleanse. Similar substances dissolve each other, allowing carrier oils to clear the impurities lodged in pores. When warm water is applied, it opens the pores, allowing removal of dirt and sebum.
Advocates of the Oil Cleansing Method (OCM) note that it can address concerns like oily skin, dry skin, sensitive skin, blackheads, and whiteheads. The choice of oils largely depends on individual skin type.
Natural Makeup Remover
Since many makeup products contain oil, oil cleansing can effectively remove them as well. It works well for taking off foundation, mascara, and eye makeup. Here are some additional DIY makeup remover ideas.
Does the Oil Cleansing Method Deliver Results?
This is what excites me the most! Even during my third trimester of pregnancy, a time when hormonal changes often affect my skin dramatically, I experienced no breakouts! For a few months, oil cleansing became my go-to solution to ward off blemishes and remove makeup.
In my initial days using oil cleansing, there was an adjustment phase where my skin’s condition worsened for about a week. Many resources suggest this is a detox response as impurities are purged from the skin. This seemed accurate for me. Following this period, my skin steadily got better, and within 3-4 weeks of only relying on oil cleansing, I noticed no excess oil, dryness, or blackheads.
After discussing with several friends and family members who have adopted the oil cleansing method, most reported similar improvements. Some even mentioned that oil cleansing, combined with daily gelatin, offered the best anti-aging results!
Ingredients for Oil Cleansing
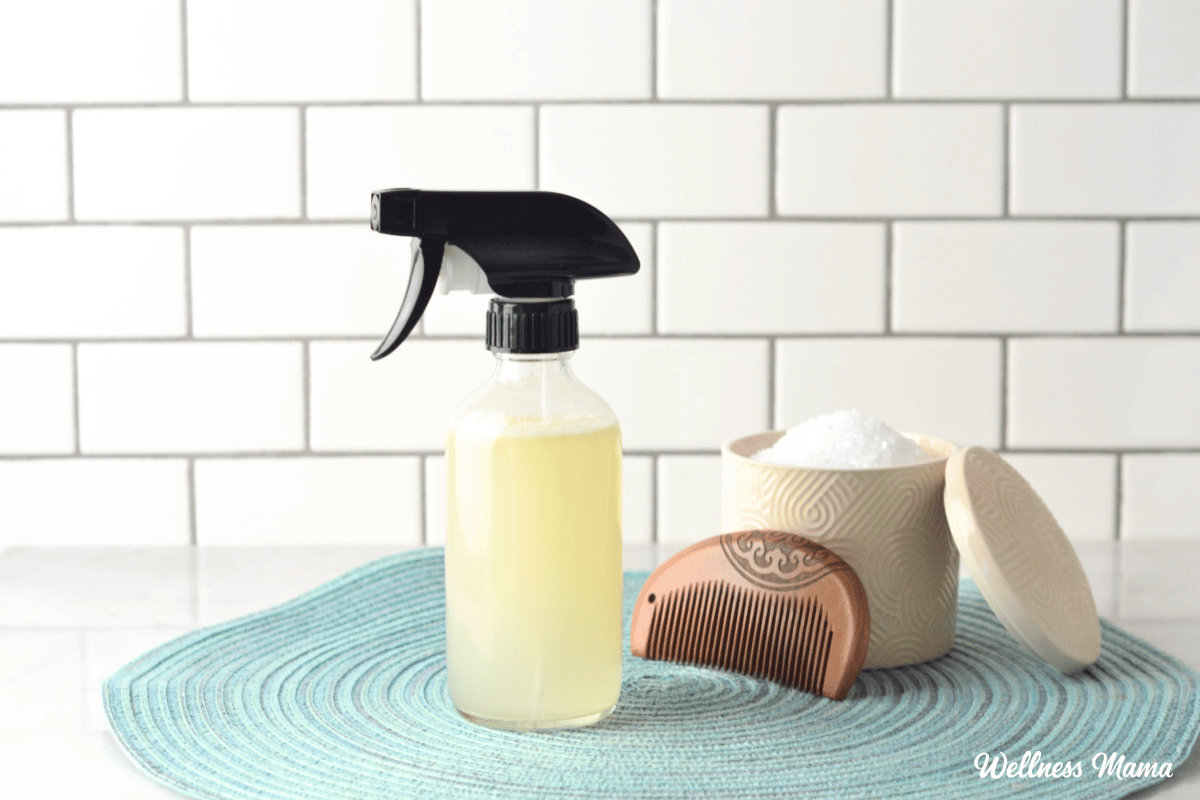
Interested in trying oil cleansing on yourself? You just need some natural oils and a clean, damp washcloth.
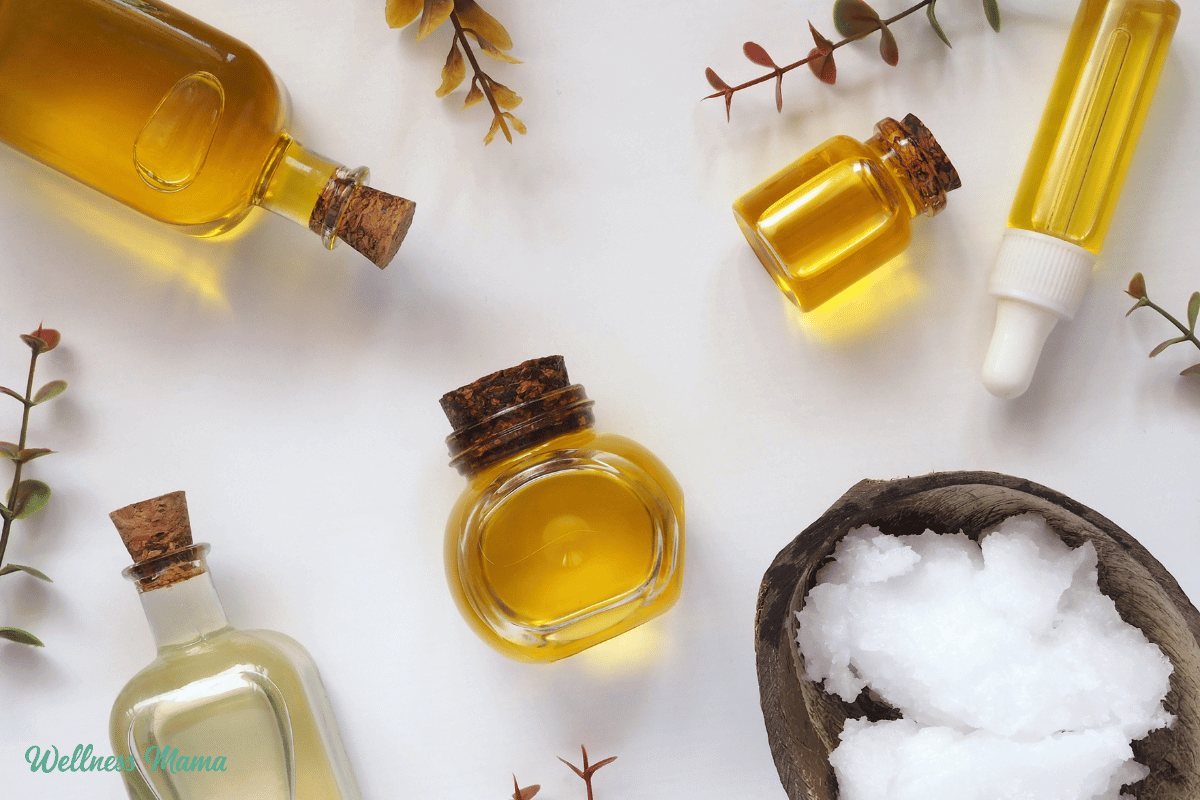
The frequently used oils include castor oil and olive oil, though any natural oil can suffice. Castor oil is naturally astringent and helps draw impurities from the skin, thus making it suitable for oily or combination skin (and, in smaller amounts, dry skin too). While I employ castor oil packs for detoxifying, it can be overly harsh if undiluted when used as an oil cleanser. You’ll need to mix castor oil with another carrier oil (or a blend) that matches your skin type. Olive oil is another favorite of mine, although sunflower, safflower, or coconut oil also work.
Optimal Oils for Oil Cleansing
Certain oils, such as rosehip oil and castor oil, have more drying effects. Others, like olive oil, might be too heavy for naturally oily skin. Below are some options for oil cleansing and their unique properties:
Base Oils
These oils are recommended in larger quantities in conjunction with castor oil.
- Avocado oil – Ideal for combination, dry, or mature skin.
- Grapeseed oil – Lightweight and beneficial for oily or acne-prone skin.
- Sunflower oil – A lighter oil that’s suitable for combination or oily skin.
- Sweet almond oil – Works well for oily, sensitive, or combination skin types.
- Coconut oil – It may suit some individuals perfectly while not others. It can sometimes be drying or pore-clogging, yet some enjoy it in skincare.
Olive oil – My preferred choice. Fantastic for mature or dry skin, but also worked for my slightly oilier complexion. It’s crucial to purchase authentic olive oil as much of what’s available is mixed with cheaper oils.
Specialty Carrier Oils
These provide additional customization for your blend and are rich in skin-nourishing nutrients. Adding a little of these to your mix can yield great results.
- Rosehip oil – This drying oil suits oily skin types. In smaller quantities, it’s also a quality anti-aging oil packed with vitamins A and C to aid with scars, blemishes, and wrinkles.
- Argan oil – Contains vitamins A and E, antioxidants, and linoleic acid. It’s emollient, protects against free radicals, and is anti-aging as well as moisturizing.
- Jojoba oil – Resembling skin’s sebum, it carries vitamins E and B, along with minerals. Non-clogging and suitable for every skin type.
- Essential oils – Although not carrier oils, essential oils add extra skin benefits—like fighting against aging, reducing inflammation, and minimizing blemishes. Some of my favorites include lavender, tea tree, frankincense, sweet orange, and cedarwood. A drop or two in your blend suffices (be cautious around the eyes!).
For buying convenience: Don’t want to gather the oils yourself for a DIY approach? There are pre-mixed handmade oil cleansing blends available that smell divine and work brilliantly.
Mixing Oil Cleansing Blends
If you’re unfamiliar with oil cleansing, you might need multiple attempts to find the most suitable oil blend. I use a combination of 3/4 olive oil and 1/4 castor or hazelnut oil, and it works wonders for me. Here are some blend suggestions:
- Oily Skin: 1/3 castor oil or hazelnut oil and 2/3 sunflower, grapeseed, or sweet almond oil.
- Combination Skin: 1/4 castor oil or hazelnut oil and 3/4 olive, sweet almond, sunflower, or another oil.
- Dry Skin: Preferably nourishing oils like avocado or olive oil, or minimal amounts of castor/hazelnut oil mixed with the nourishing oils.
Start with recommended amounts based on your skin type and adjust as needed. When I began, I experimented with small batches to determine the perfect combination for me.
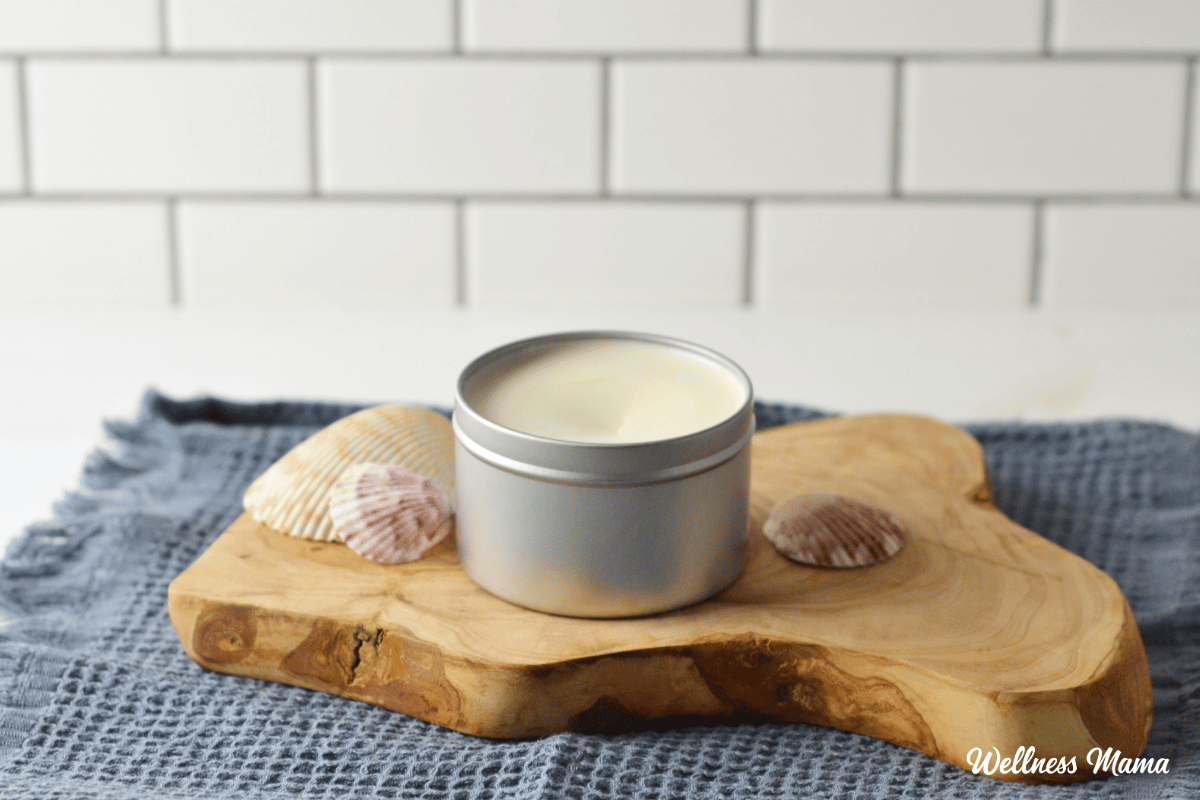
Pure coconut oil can also work well once your skin adapts, though it can be drying for certain skin types. A friend of mine uses an equal mix of coconut oil and olive oil, blended into a creamy consistency, which works perfectly for her.
Tutorial for Oil Cleansing
With the choice of oils sorted, follow these steps for the oil cleansing method:
-
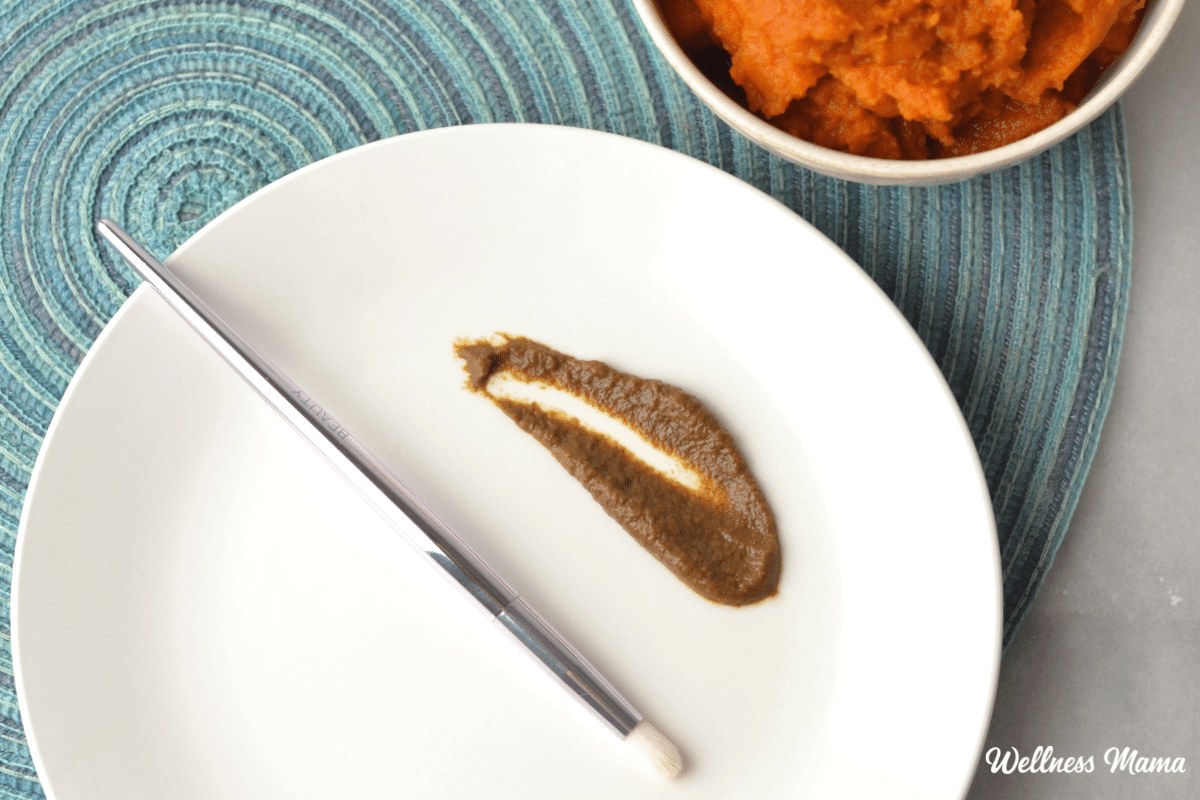
Place a quarter-sized amount of your oil mix into your hand and massage onto dry skin using smooth circular motions for 1-2 minutes. If wearing makeup, there’s no need to remove it first.
-
Optional: Allow the oil to stay on your skin for up to 10 minutes to thoroughly clean skin cells and pores.
-
Immerse a clean washcloth in hot water, then apply it to your face for about a minute to create steam and lift away oils and skin impurities. Repeat if necessary.
-
Use the washcloth to delicately wipe off any remaining oil. A thin layer of oil will remain on your skin, which is beneficial.
- Once your skin has adjusted, you may not need a moisturizer. If dry skin persists, consider reducing castor oil in your mixture and applying a light lotion.
Oil Cleansing Method FAQs
Oil Cleansing with Acne
The skin may need a week or so to adjust; hence, it’s normal to experience increased oiliness or more breakouts as impurities are expelled from the skin. Avoid rashly using soaps or facial cleansers, as this can prolong the adaptation phase.
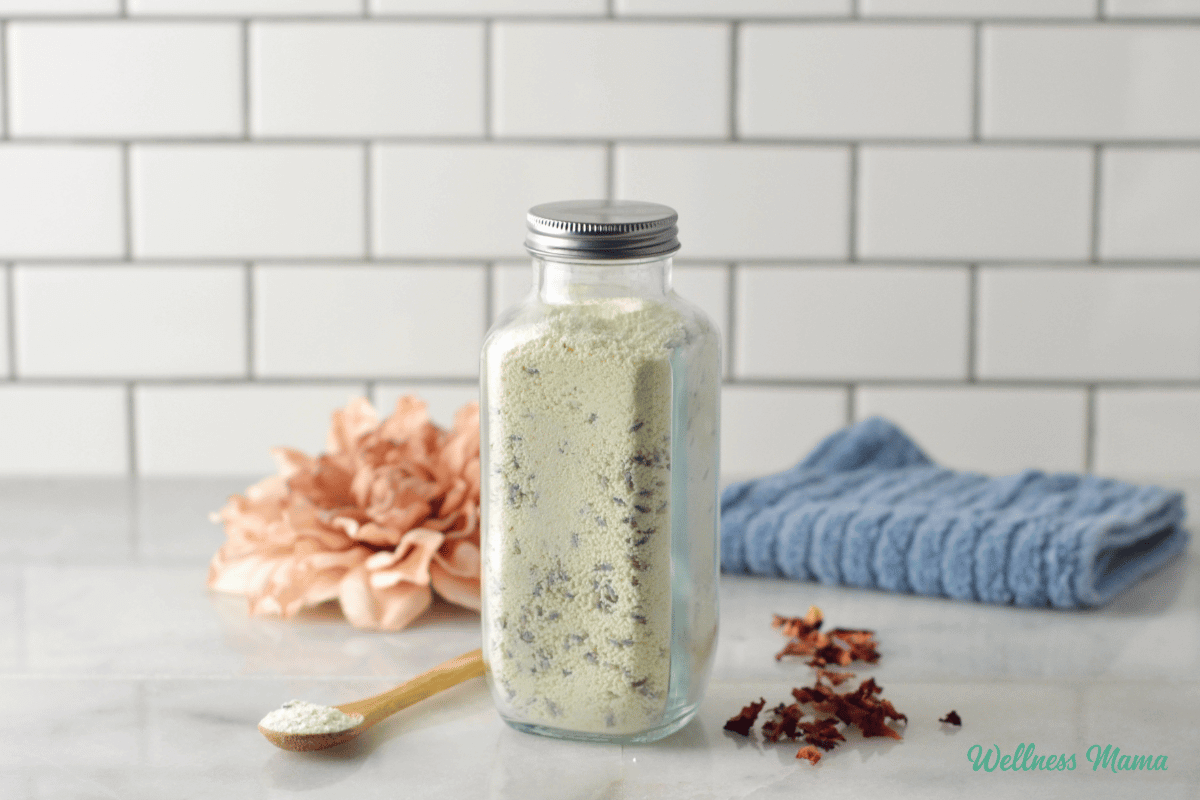
To expedite the detox process, consider a clay face mask once or twice weekly.
The Oils Aren’t Effective for Me
Every skin type may undergo an adjustment period, which requires experimenting with different oils to discover the optimal ratio. If your skin feels overly dry afterward, decrease castor oil (or rosehip oil if using it). If too greasy, try a lighter oil or increase castor oil.
If, after a month and trying various oils, there’s still no improvement, oil cleansing may not be suitable for you.
Cleaning Up Afterward
When performing this method in the shower, ensure regular cleaning of the shower floor to prevent slippage. Some individuals inquire about washing the washcloth afterward. For me, I handle them in a separate laundry wash with hot water. Following the wash, you can do a vinegar rinse before drying.
Have you attempted oil cleansing? How was your experience? Share your thoughts below!


Leave a Reply