


Elderberry syrup is a popular remedy, especially during flu season. But there are many ways to incorporate this tasty, healthy berry into your routine. My family enjoys the flavor of these elderberry marshmallows, and I appreciate that they support the immune system and contain no processed sugar.
An Improved Way to Take Your Medicine
Hiding under the bed…
That was my strategy as a child when it was time to take medicine while sick. I disliked the taste, and my poor parents had to chase me to take it. Fast forward many years (more than I care to share), it’s a completely different situation with my kids when it’s time to take remedies.
They actually love it, ask for more, and wish they could have it all the time. Especially elderberry syrup!
A Fresh Perspective on Elderberry
Recently, I was preparing two of my kids’ favorites on the same day: elderberry syrup and homemade marshmallows. With a bit of extra elderberry liquid from the syrup, I came up with a great idea: elderberry marshmallows.
What resulted was a light purple, delicious, and immune-boosting treat that my kids adore!
Health Advantages of Elderberry
If you’re not familiar with elderberries or can’t see why you should make marshmallows with them, here are some benefits:
- Popular remedy for cold and flu
- Many use them in colder months to prevent illnesses
- Helps reduce coughs, sore throats, and runny noses
- Natural source of antioxidants and vitamins
- Modulates inflammation during illness
- Kids love it!
Ingredients for Elderberry Marshmallows
This recipe requires just a few basic ingredients, most of which you probably have on hand.
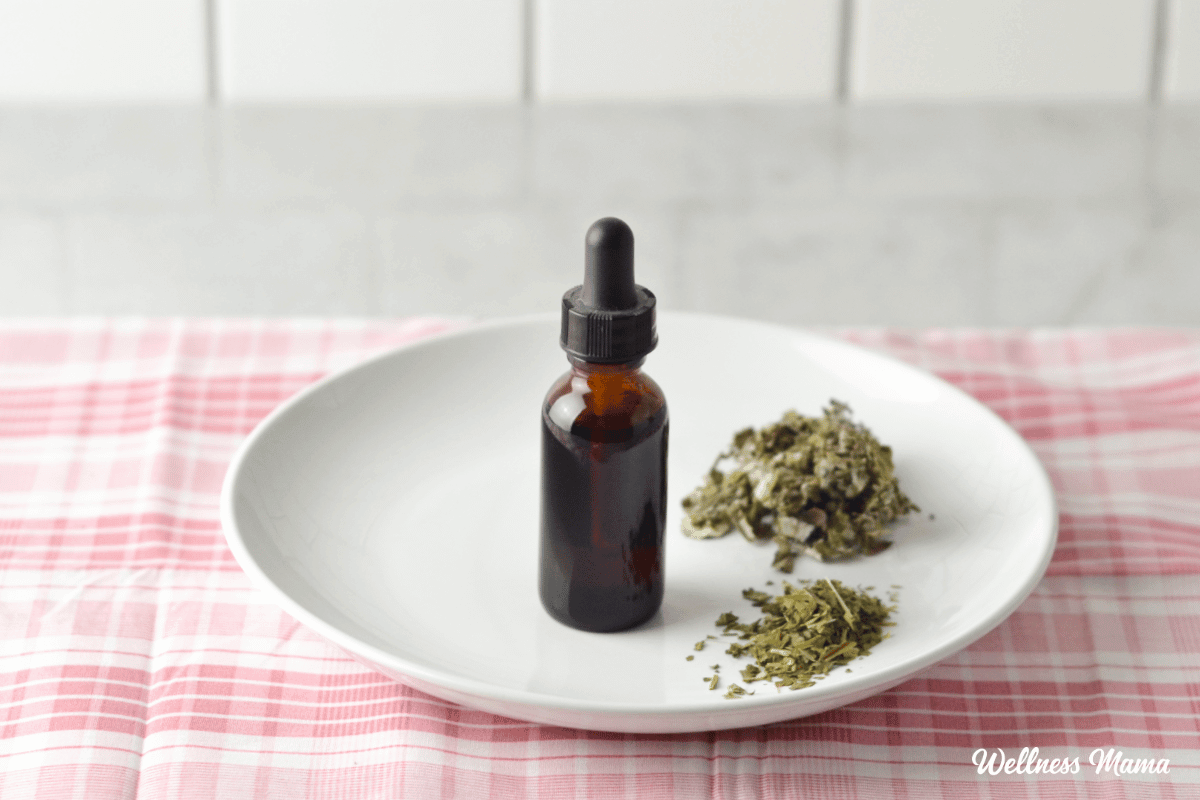
Elderberries
The only unique ingredient you need is elderberries.
In some regions, you can grow or forage your own elderberries. Be sure to use only the berries and remove stems and leaves, as they can be toxic if ingested. I use a brand that offers organic or wildcrafted elderberries, available here.
Gelatin
Gelatin is also needed to achieve the right marshmallow texture. I prefer pasture-raised, high-quality gelatin. While I enjoy adding collagen powder to my tea and coffee, this recipe requires actual gelatin. Gelatin is what “gels” and provides the marshmallows’ perfect consistency. It’s available here – look for “beef gelatin” in the green can.
How to Prepare Elderberry Marshmallows
Many don’t realize how easy it is to make homemade marshmallows. They won’t resemble the artificially stiff and overly sweet store-bought ones. But in my opinion, they’re much better.
The only ingredients necessary are water, gelatin, honey/syrup, and in this case, elderberries and optional spices. Once the mixture is whipped, you must quickly transfer it to the oiled dish, as it will set up and become hard to smooth. However, they’ll taste just as good.
If your marshmallow mixture doesn’t spread evenly, you can use wet fingertips to gently smooth the top.
Completing the Marshmallow Recipe
Once the mixture sets sufficiently and is firm enough to cut, use a knife, pizza cutter, or sharp scissors. Ensure they’re well-oiled to prevent the marshmallows from sticking. I added more oil to my knife every few cuts.
I occasionally dust the cut marshmallows in cinnamon to prevent them from sticking together. Powdered coconut sugar is another option for dusting. For this batch, I combined 2 parts arrowroot powder with 1 part acai berry powder for a nice purple color.
Elderberry Marshmallows Recipe
Simple immune-boosting marshmallows with a hint of elderberry. These are a favorite among the kids in our household, and I love that they provide vitamins and an immune boost!
- Grease a 9×13 inch baking dish with coconut oil, or line with parchment paper, leaving extra on the sides for easy lifting.
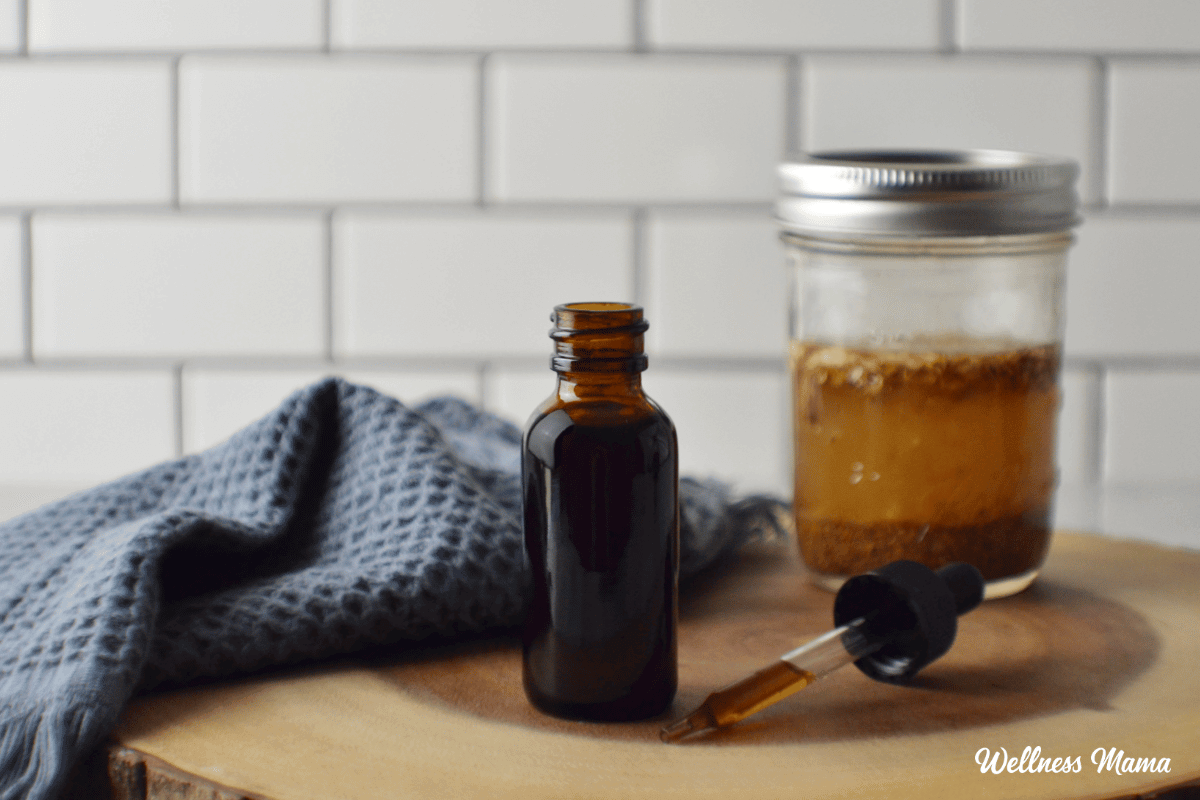
- In a small pan, bring the dried elderberries, spices (if using), and water to a boil. Gently boil uncovered for 10-15 minutes, or until the liquid is reduced by half.
- Strain out the elderberries and spices, measuring the remaining liquid. If there’s more than 1 cup, simmer it longer. If there’s less, add enough filtered water to reach 1 cup.
- In a bowl of a stand mixer, or a large bowl if using a hand mixer, place ½ cup of the liquid and sprinkle gelatin over it. Mix lightly and set aside.
- Combine the remaining ½ cup liquid with honey or maple syrup in a saucepan. Slowly bring it to a boil. Using a kitchen thermometer, heat until at least 240 degrees, or boil for approximately 5 minutes if you don’t have one. Remove from heat.
- Turn on the mixer with the gelatin mixture to medium speed. Slowly pour the honey/water mixture into the mixing bowl with the gelatin mix.
- Once all the honey mix is added, increase the mixer speed to high and whisk for another 10-15 minutes or until it forms a marshmallow cream consistency with soft peaks.
- Quickly pour the whipped marshmallows into the lined/greased dish and smooth evenly with a well-oiled spatula.
- Let rest uncovered for at least 4 hours (overnight is preferable).
- Flip onto a cutting board and cut with a well-oiled pizza cutter or knife. Dust with cinnamon powder and/or coconut sugar if desired to prevent them from sticking.
Nutrition Facts
Elderberry Marshmallows Recipe
Amount Per Serving (2 g)
Calories 63
% Daily Value*
Sodium 7mg 0%
Carbohydrates 14.5g 5%
Sugar 12.5g 14%
Protein 1.6g 3%
- Percent Daily Values are based on a 2000 calorie diet.
Shelf Life and Storage: Do NOT store the marshmallows in the refrigerator, as they will melt. Keep in an airtight container at room temperature. They will last for 3-4 days.
Serving and Dosage
Since there aren’t many elderberries in this recipe, I’ll let my kids have a few without worrying about dosage. It’s more of a nutrient-rich snack. If we start to feel under the weather, I’ll turn to elderberry syrup and other home remedies too.
More Elderberry Recipes
Looking for more ways to incorporate elderberry into your routine? Try some of these delicious and healthy recipes.
Have you ever made marshmallows or thought about trying it? How did it turn out? Leave a comment and let me know!


Leave a Reply